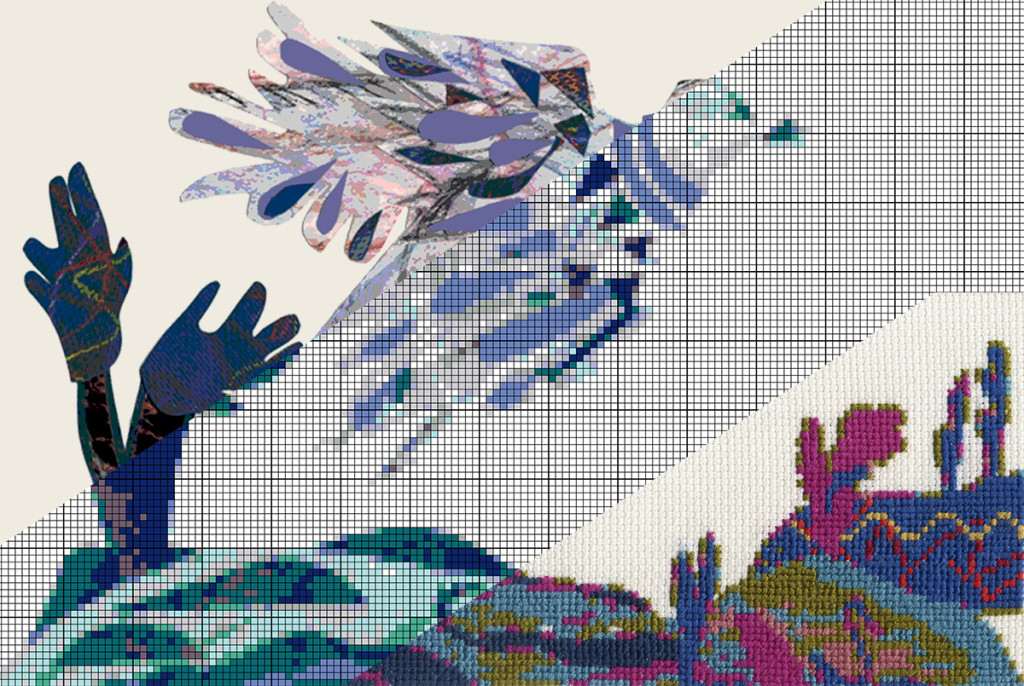
There are several methods of translating an idea into a cross-stitch pattern. None of them has any better result than coloured pencils on graph paper. However, some of the digital resources may save you time and the cost of an eraser.
Method 1: Use a software program designed to convert images into cross-stitch patterns
Most of these programs also permit direct drawing on the grid of your choice with your selected palette of DMC colours. Although I don’t think any of the products I have used is excellent, some have free versions you might want to try.
http://www.ursasoftware.com
http://www.stitchesapp.com
VERY IMPORTANT: The layout area is 168 squares wide + 7 squares on each side for borders. Click here for our colour palette.
A Giovanna created a honey bee design in Corel Draw.
B I scanned it into stitchesapp specifying a grid 104 squares wide and up to 8 colours.
C I wasn’t happy with B, and so I drew it directly on to the grid using exactly the DMC colours in the project palette.
D Final result.
Method 2: Use a service such as myphotostitch.com

Upload an image and specify canvas size. After the software generates an initial chart, you can still play with numbers of colours, saturation, how you want your final version notated etc.
When you are [more or less] satisfied, you pay US$12 for a high-resolution diagram that you can print out. You are also provided with thread yardage for each colour and other useful information.
Method 3: Use design software such as Photoshop or Illustrator

These are powerful and sophisticated programs; they are expensive, and not for beginners. Place the project grid as a transparent-background layer on top of an image.
The original photo required considerable manipulation to transform it into an approximate stitching guide. And it still needed much interpretive and technical adeptness by the stitcher.
Filters may be useful.

If you still prefer graph paper and coloured pencils, click here to download a blank .pdf version of the grid used throughout this project.


